
Gut Health
Ginger Tea Recipe for Bloating and Digestion (Why Prep Method Actually Matters)

The content on this website – including articles, event announcements, personal experiences, and recommendations – is for informational and educational purposes only and is not medical advice. Always consult a qualified healthcare professional before making any changes to your diet, exercise, supplements, sleep habits, or wellness routines, especially if you are pregnant, nursing, on medication, or have any medical condition.
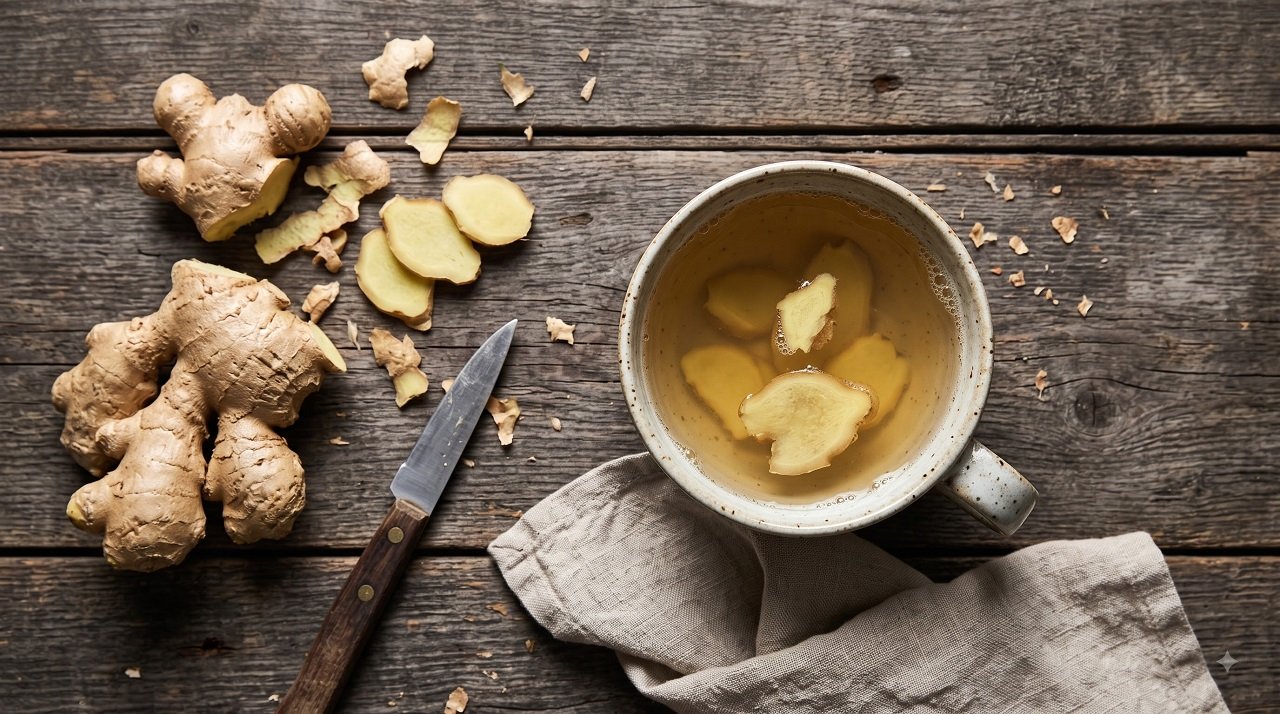
Disclaimer: This article provides general educational information and is not a substitute for medical advice. Ginger can interact with blood thinners and other medications — check with your doctor if you take medication regularly or are pregnant.
Most ginger tea recipes give you one method regardless of what you’re trying to fix. Here’s the detail that actually matters: fresh ginger and long-simmered or dried ginger aren’t chemically the same thing, and which one you use changes what the tea actually does for you.
The Compound Science, Briefly
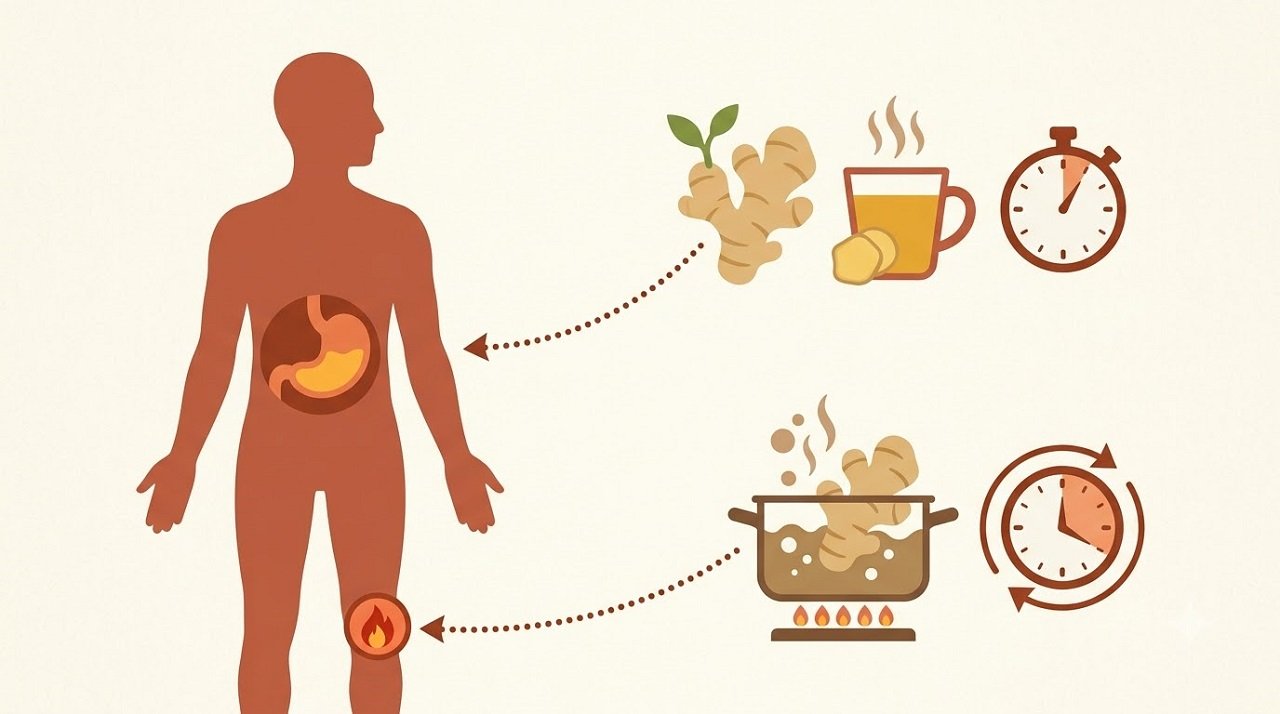
Fresh ginger is dominant in gingerols — the compounds better studied specifically for nausea relief and supporting gastric motility (how efficiently your stomach empties). When ginger is heated for an extended time or dried, gingerols convert into shogaols, which are more potent for anti-inflammatory activity but are less studied for the direct digestive and anti-nausea benefit gingerols are known for.
What this means practically: if bloating and sluggish digestion are your main concern, fresh, lightly-steeped ginger is the better-targeted choice. If general inflammation is more your concern, a longer-simmered or dried-ginger tea shifts the compound profile in that direction instead. Most recipes don’t make this distinction — they just say “steep ginger” without specifying which outcome that preparation actually favors.
The Recipe: Fresh Ginger Tea for Digestion
Ingredients:
- 1-inch piece of fresh ginger root
- 2 cups water
- Optional: a squeeze of lemon, a small amount of honey
Instructions:
- Peel and thinly slice the fresh ginger (thin slices expose more surface area, extracting more of the gingerol content into the water without needing prolonged heat).
- Bring water to a boil, then remove from heat.
- Add the ginger slices and steep for 5-10 minutes — this shorter steep time is intentional, since a brief steep in hot-but-not-actively-boiling water extracts gingerols effectively without pushing the extended, high-heat conversion toward shogaols.
- Strain, add lemon or honey if desired, and drink warm.
When to drink it: ideally 20-30 minutes before a meal you expect to be heavy or gas-producing, or after eating if bloating has already started — either timing has reasonable support, since gingerols support gastric emptying either way.
If You Want More Anti-Inflammatory Effect Instead
If general inflammation (rather than acute bloating) is your goal, simmer the same ginger slices gently for 15-20 minutes instead of a short steep — the extended heat exposure shifts more of the gingerol content toward shogaols, which are the more potent anti-inflammatory compound. This is a genuinely different tea for a genuinely different purpose, not just a stronger version of the same thing.
A Dose Caution Worth Repeating
More isn’t automatically better — more than about 4 grams of ginger daily has been associated with worsened heartburn and nausea in some people, particularly on an empty stomach. One to two cups of freshly-steeped tea daily is a reasonable, moderate amount for most people; if you notice any burning or worsened nausea, scale back.
When Ginger Tea Isn’t Enough
Ginger tea supports mild, occasional digestive discomfort — it’s not a treatment for a diagnosed digestive condition. See a doctor if bloating and digestive discomfort are frequent, worsening, or accompanied by unintended weight loss, blood in your stool, or severe pain.
Frequently Asked Questions
Does ginger tea help with bloating?
Yes, particularly fresh, lightly-steeped ginger tea — gingerols support gastric motility, which can help move things along and ease the feeling of fullness and bloating.
Is fresh or dried ginger better for digestion?
Fresh ginger, briefly steeped, is better targeted for digestion and nausea specifically, since it’s gingerol-dominant. Dried or long-simmered ginger shifts toward shogaols, which are better for general anti-inflammatory effect rather than direct digestive support.
How long should I steep ginger tea?
For digestive/bloating relief specifically: 5-10 minutes in hot, not actively boiling, water. For a more anti-inflammatory-focused tea: a gentler 15-20 minute simmer.
Can I drink ginger tea every day?
Generally yes, in moderate amounts (1-2 cups) — but more than about 4g of ginger daily has been linked to worsened heartburn and nausea in sensitive people, so more isn’t automatically better.
Sources Referenced in This Article
- ScienceDirect — Conversion of Gingerols to Shogaols in Ginger by Puffing
- Food Engineering Progress — Physicochemical Properties of Repetitive Heat-Treated Ginger and Its Quantitative Conversion of Gingerol to Shogaol
- QueenBee — Gingerol vs. Shogaol: Understanding Ginger’s Active Compounds
- Acibadem Hospitals Group — Ginger Tea and Stomach Acid: What the Evidence Shows













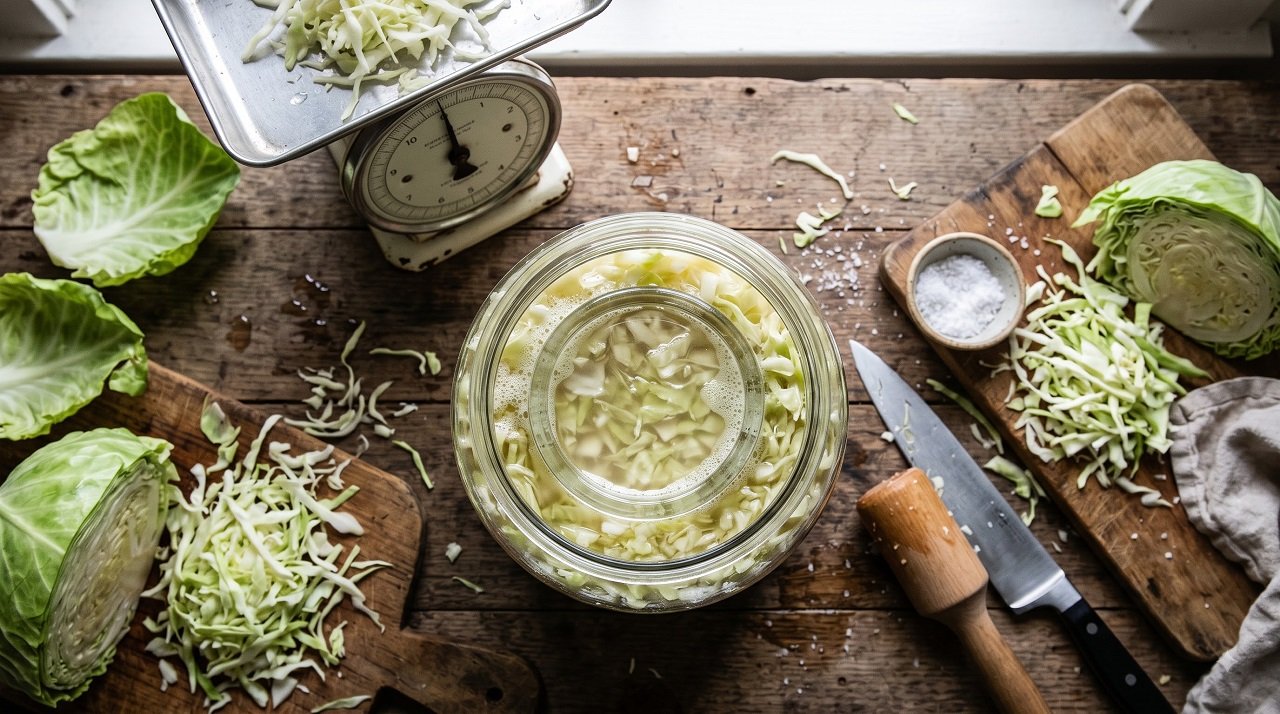
Disclaimer: This article provides general educational information about home fermentation and is not a substitute for food safety guidance from a qualified source. If a ferment develops fuzzy, colored growth (mold) or a putrid smell, discard the entire batch — don’t attempt to salvage it.
Most sauerkraut recipes tell you to add “a few tablespoons of salt” — which sounds simple, but salt measured by volume varies significantly depending on the type (fine table salt packs differently than flaky sea salt), which is a real reason home ferments sometimes fail or turn unsafe. Food scientists and fermentation guides consistently recommend measuring salt by weight, as a percentage of your cabbage, not by spoonfuls.
The Actual Ratio: 2% Salt by Weight
The consistently recommended ratio across fermentation science sources is 2% salt by weight of your cabbage (or vegetables). In practical terms: for every 1,000 grams (about 2.2 lbs) of shredded cabbage, use 20 grams of salt.
This precision matters for two real reasons: too little salt lets undesirable bacteria and mold compete with the beneficial lactic acid bacteria you actually want; too much salt can slow or stall fermentation entirely. A kitchen scale makes this simple and removes the guesswork that volume-based measurements introduce.
What You’ll Need
- 1 medium head of cabbage (about 2-3 lbs / 900g-1.4kg), any variety
- Salt, measured at 2% of your cabbage’s weight (non-iodized — iodized salt can interfere with fermentation)
- A clean glass jar or fermentation crock
- A fermentation weight (or a smaller jar/bag filled with water to weigh the cabbage down)
- A kitchen scale
How to Make It
- Weigh your shredded cabbage after removing the core, then calculate 2% of that weight in salt (e.g., 1,000g cabbage = 20g salt).
- Shred the cabbage thinly and place it in a large bowl.
- Add the salt and massage it into the cabbage with clean hands for 5-10 minutes, until the cabbage releases its own liquid and becomes noticeably limp.
- Pack tightly into your jar, pressing down firmly so the released liquid rises above the cabbage. This is the single most important step for safety — vegetables that stay fully submerged in brine create an oxygen-poor environment that favors the lactic acid bacteria you want and discourages mold.
- Weigh the cabbage down so it stays under the brine throughout fermentation. If there isn’t quite enough liquid to fully submerge it, a small amount of additional 2% saltwater brine (20g salt per liter of water) can top it off.
- Cover loosely (a cloth or a fermentation lid that allows gas to escape) and leave at room temperature, ideally below 75°F — warmer temperatures can produce a softer, mushier texture.
- Taste starting at day 3-5. A good ferment smells increasingly sour and tangy as it progresses; early on, a slightly funky “green” smell is normal. Continue fermenting to your taste preference, typically 1-4 weeks, then refrigerate to slow fermentation and preserve texture.
Kahm Yeast vs. Mold: How to Tell the Difference (Without Panicking)

This is the part that causes the most anxiety for new fermenters, and it’s worth knowing clearly before you start:
Kahm yeast is a flat, white-to-cream colored film that can form across the surface. It’s not mold, and it’s not dangerous — it’s a wild yeast that sometimes appears when vegetables are exposed to oxygen at the surface. If you see this: skim it off with a clean spoon, make sure your cabbage is still fully submerged, and continue fermenting. The ferment isn’t ruined.
Mold looks distinctly different — fuzzy, raised, and usually clearly colored (blue, green, black, or pink), rather than flat and white. If you see actual mold: discard the entire batch. Don’t try to skim mold off and continue — mold’s filaments extend below what’s visible on the surface, unlike kahm yeast’s flat film.
The practical rule: flat and white/cream = probably fine, skim and continue. Fuzzy and colored = discard, no exceptions. If you’re ever genuinely unsure, err on the side of discarding — a ruined batch of cabbage is a minor loss compared to the risk of eating something contaminated.
Why This Actually Supports Gut Health
Properly fermented sauerkraut contains live lactic acid bacteria, which is why keeping vegetables submerged and using the correct salt ratio matters beyond just food safety — an improperly fermented batch may not develop the beneficial bacteria you’re making it for in the first place. Look for “unpasteurized” on store-bought versions if you’re not making your own, since pasteurization (common in shelf-stable, non-refrigerated sauerkraut) kills the live cultures that make fermented sauerkraut different from simply pickled cabbage.
Frequently Asked Questions
How much salt do I need to make sauerkraut?
2% of your cabbage’s weight — for 1,000g of cabbage, use 20g of salt. Measuring by weight, not by spoonfuls, gives more consistent and safer results.
Is white film on sauerkraut safe?
Usually yes, if it’s flat and white or cream-colored — this is typically kahm yeast, which is harmless. Skim it off and continue. Fuzzy, colored growth is mold and means the batch should be discarded.
How long does homemade sauerkraut take to ferment?
Most ferments are ready to taste starting around day 3-5, with many people continuing to ferment for 1-4 weeks depending on how sour they prefer it, then refrigerating to slow the process.
Does store-bought sauerkraut have the same gut health benefits?
Only if it’s unpasteurized — pasteurized, shelf-stable sauerkraut has been heat-treated in a way that kills the live bacteria responsible for the gut health benefits typically associated with fermented foods.
Sources Referenced in This Article
- Frugal Organic Mama — Kahm Yeast vs Mold on Fermented Vegetables
- Frugal Organic Mama — Sauerkraut Troubleshooting
- 123 Food Science — Home Fermentation Safety: Kimchi, Kefir, Sauerkraut, and What Can Go Wrong
- FermentFoundry — Kahm Yeast: What It Is, How to Prevent It, When Safe
- National Center for Home Food Preservation guidance on sauerkraut salt ratios

Disclaimer: This article provides general educational information and is not a substitute for medical advice. If nausea is severe, persistent, or accompanied by chest pain, severe abdominal pain, or vomiting blood, seek medical care rather than relying on home remedies.
Most “tea for upset stomach” lists treat ginger, peppermint, and chamomile as interchangeable. They’re not — and getting this wrong can actually make things worse. If your upset stomach involves acid reflux, peppermint (the most commonly recommended option) can worsen it.
Why Peppermint Isn’t Always the Safe Default
Peppermint relaxes the lower esophageal sphincter (LES) — the muscular valve that keeps stomach acid where it belongs. That relaxing effect is exactly why peppermint works well for intestinal cramping and IBS-type discomfort lower in your gut, but it’s the same mechanism that lets acid travel back up into your esophagus if you have reflux. Clinical guidance specifically lists peppermint as something to approach with caution in reflux disease, and the effect is even more relevant for silent reflux (LPR), where menthol can also loosen the valve at the top of your esophagus.
The practical takeaway: if your stomach upset comes with any burning, regurgitation, or a sour taste — signs of reflux — skip peppermint and reach for chamomile or ginger instead.
Matching the Right Tea to Your Symptom

For Reflux-Related Nausea or Burning: Chamomile
Chamomile doesn’t affect the LES the way peppermint does, and it contains apigenin, a compound with genuine anti-inflammatory effects in the digestive tract. It also has real, well-documented calming effects on stress and anxiety — relevant since stress itself can worsen reflux. This is the safer general default if you’re unsure which type of upset stomach you’re dealing with.
For General Nausea (Motion Sickness, Mild Stomach Upset): Ginger
Ginger has the strongest research base of any single remedy here, particularly for nausea specifically — its active compounds (gingerols and shogarols) affect serotonin pathways involved in nausea, and separate research has found ginger measurably speeds up gastric emptying. A real dose limit worth knowing: more than 4 grams of ginger daily can paradoxically worsen heartburn and nausea in sensitive people, and drinking strong ginger tea on an empty stomach is a common way people trigger exactly the irritation they were trying to avoid. Keep it moderate — a lightly brewed cup with a small amount of fresh ginger, ideally with food rather than on an empty stomach.
A caveat specific to reflux: ginger is generally reasonable for nausea associated with reflux, but if your reflux is severe or triggered by nearly everything you eat, ginger’s mild LES-relaxing effect may add to the problem rather than solve it — this is a case where “natural” doesn’t automatically mean “safe for your specific situation.”
For Nervous Stomach or Stress-Related Nausea: Chamomile or Lemon Balm
Both work partly through calming the nervous system rather than acting directly on your gut — genuinely useful if your nausea is tied to anxiety or stress rather than something you ate.
What to Avoid Adding
Fizzy ginger drinks, sweetened bottled “ginger” beverages, and caffeinated blends behave differently from plain brewed ginger tea and can introduce their own irritation (caffeine, carbonation, added sugar) — if you’re using ginger specifically for its digestive benefit, a simple hot tea from fresh ginger or a quality tea bag is more reliable than a flavored commercial drink.
When It’s More Than Occasional Upset
- Nausea lasting more than a couple of days
- Vomiting blood or material that looks like coffee grounds
- Severe abdominal pain
- Chest pain (always rule out cardiac causes rather than assuming it’s reflux)
- Signs of dehydration from persistent vomiting
Frequently Asked Questions
What tea is best for an upset stomach?
It depends on the cause — chamomile is the safer general default, especially if reflux might be involved; ginger is better specifically for nausea without reflux symptoms; peppermint is best reserved for lower-gut discomfort like IBS-type cramping, not reflux.
Is peppermint tea bad for acid reflux?
Yes, for many people — peppermint can relax the valve that keeps stomach acid down, potentially worsening reflux symptoms, despite being a commonly recommended “soothing” tea.
How much ginger tea is too much?
Research points to roughly 4 grams of ginger daily as a threshold above which some people experience worsened heartburn and nausea rather than relief — moderate amounts, taken with food, are the safer approach.
Can I drink ginger and peppermint together?
They can be combined for general stomach settling, but if reflux is part of your symptoms, it’s worth trying them separately first to see whether peppermint specifically worsens your symptoms before making a blend a habit.
Sources Referenced in This Article
- Acibadem Hospitals Group — Ginger Tea and Stomach Acid: What the Evidence Shows
- Wipeout Reflux — Is Peppermint Tea Good for Acid Reflux? Why It Makes It Worse
- Wipeout Reflux — Is Ginger Good for Acid Reflux? Benefits, Risks & Evidence
- Healthline — Herbs and Supplements for GERD
- Teavity — Herbal Tea for Nausea Relief: Ginger, Peppermint, and Chamomile

Disclaimer: This article provides general educational information and is not a substitute for medical advice. Severe or one-sided abdominal pain, especially with fever or vomiting, needs prompt medical evaluation to rule out conditions like appendicitis, which can initially feel similar to trapped gas.
Most gas-relief guides give you a list of poses without explaining why they work — or worse, without telling you which direction actually matters. Here’s the anatomical detail that makes these techniques more effective: your colon has a specific shape and path through your abdomen, and working with that path, not against it, is what actually moves trapped gas along faster.
Why Direction Actually Matters

Your colon runs up the right side of your abdomen (ascending colon), across the top (transverse colon), and down the left side (descending colon) before reaching the rectum. This is why yoga instructors specifically recommend twisting to your right side first — it compresses the ascending colon in the direction gas is naturally moving, rather than against it.
For the same anatomical reason, lying on your left side — knees drawn toward your chest — is a specifically effective position for releasing trapped gas through belching, since it uses your stomach and colon’s natural position to help a gas pocket rise and move out, rather than being a generic “any side works” tip.
Techniques That Actually Target Trapped Gas
Wind-Relieving Pose (Pavanamuktasana): Lie on your back, bring both knees to your chest, and gently hug them in. This creates direct abdominal compression over the area where gas commonly gets trapped. Hold for 20-30 seconds, release, and repeat as needed. If two knees feels too intense, try one knee at a time.
Right-first seated twist: Sit with legs extended, bend your right knee and cross it over your left leg, and twist your torso to the right first (following the ascending colon), holding for 3-5 breaths before switching sides. This directional sequencing is the detail most instructions skip.
Left-side-lying position: Lie on your left side with knees drawn toward your chest. This is a specific, anatomically-grounded position, not interchangeable with lying on your right.
Child’s Pose: Kneel and lower your glutes to your heels, forehead to the floor, knees wide for greater abdominal compression. This encourages your body’s “rest and digest” response, which supports gas movement alongside the direct compression.
Cat-Cow flow: Alternating between arching and rounding your back gently massages your digestive organs and can help move gas along, particularly useful if a single static pose isn’t providing relief.
Movement and Breathing
Deep diaphragmatic breathing — expanding your belly on the inhale, drawing your navel toward your spine on the exhale — engages your abdomen directly and supports your parasympathetic (“rest and digest”) nervous system, which helps digestion move along rather than staying tense and slow.
A short walk can also help when a pose alone isn’t providing relief — gentle movement stimulates peristalsis (the wave-like muscle contractions that move gas and stool through your intestines).
What’s Normal (And What Isn’t)
Passing gas 13-21 times a day is within the normal range — trapped gas becomes uncomfortable specifically when it gets stuck rather than passing normally, not because gas itself is a problem.
When It’s Not Just Gas
Trapped gas pain can occasionally feel similar to something more serious. Seek prompt medical care if you have:
- Severe pain, especially concentrated in the lower right abdomen (a potential sign of appendicitis)
- Fever alongside abdominal pain
- Persistent vomiting
- Pain that doesn’t improve with movement or position changes after a reasonable amount of time
- Blood in your stool
Frequently Asked Questions
Which side should I lie on for gas pain?
Your left side, with knees drawn toward your chest — this position is specifically effective (not just “any side”) based on where your stomach and colon sit anatomically.
What is the fastest way to release trapped gas?
Combining wind-relieving pose (knees to chest) with left-side-lying and gentle movement tends to work faster than a single static pose alone.
Why does twisting help with gas?
Twisting to your right side first follows the actual path of your ascending colon, compressing it in the direction gas is naturally moving rather than working against that path.
How many times a day is it normal to pass gas?
Between 13 and 21 times daily is considered within the normal range.
Sources Referenced in This Article
- Liforme — The 8 Best Yoga Poses to Relieve Gas & Bloating
- Gas-X — Yoga Positions for Relieving Gas Discomfort
- Apollo 247 — Best Yoga Positions to Relieve Gas and Bloating
- Healthline — How to Fart: Tips for Relieving Trapped Gas
- JustFit — Top 8 Yoga Positions to Relieve Gas and Reduce Discomfort

Ginger Tea Recipe for Bloating and Digestion (Why Prep Method Actually Matters)

Signs of a Nervous Breakdown in Women: What It Actually Is and What to Watch For

Tackling the 5G & EMF Nightmare

PEMF Webinar

HBOT ( Hyperbaric Oxygen Therapy ) Webinar

The 4-7-8 Breathing Technique: Step-by-Step Guide and What the Research Actually Shows
-
 Events4 weeks ago
PEMF Webinar
-
 Events2 weeks ago
HBOT ( Hyperbaric Oxygen Therapy ) Webinar
-
 Natural Sleep Remedies5 months ago
The 4-7-8 Breathing Technique: Step-by-Step Guide and What the Research Actually Shows
-

 Events4 months ago
Why You Can’t Trust Big Pharma
-

 Events5 months ago
The Anti-Cancer Body with Dr. Michael Karlfeldt
-

 Events4 months ago
The Cancer Conversation Your Oncologist Cannot Have in 15 Minutes
-

 Events5 months ago
Beyond the Brain
-

 Home Remedies5 months ago
Natural Home Remedies for Restless Legs at Night